Table of Contents
Hey folks, Hope you all are doing well with your websites on WordPress. Did you know that there are tools that help you to study the visitors that visit your website every day? Studying your audience can help you in making various business decisions, design changes, and optimize your website towards the demand of your audience. Finally, more sales!!. Analytics provided by Google (Google Analytics) is the most famous analytics tool that works great with WordPress websites. So today we’ll dig deeper about Google analytics and how you can connect google analytics to WordPress.
Divi Full Page Scrolling Framework Child Theme
What is Google Analytics(GA) and why it exists
Before diving into configurations, let’s first learn a little bit about the type of information that we can get with Google Analytics (GA).
Who visits your website?
With the help of Google Analytics, you can easily understand the type of users that visit your website. Type in the sense, their country, demographics, the technology they use, and much more. This information is extremely useful when you redesign your website or increase your sales. You can use this data to optimize and personalize your website to reach more potential visitors and to give them a great user experience.
What people are doing when they are on your website?
With GA(Google Analytics) you can study what people do when they land inside your website, do they scroll? whether they navigate the other pages, etc. Another important thing, that you can analyze is the bounce rate.
Bounce Rate is the percentage of visitors to your website who navigate away from the site after viewing only one page.
If you see that the users are not spending any considerable amount of time interacting inside your website but leaving (high bounce rate) as soon as they land, then there must be something wrong. You should take action to identify the issue and fix it in order to reduce the bounce rate. In other words, to keep your visitors inside the website.
When do people visit your website?
By identifying the time when most visitors come to your website, you can plan to post your content during those active hours.
Posting content when people present inside the website can help to reach a larger audience than just posting when no one is there.
How do people find your website?
Another very helpful detail that Google analytics shows us is, from where did your visitors land on your website. Is it from a google search, another blog post, direct visitor, or via an affiliate link or backlink? With this data, you can try to improve the areas where fewer people find your website and optimize more towards the best where more visitors come.
How do people interact with your content?
Google Analytics provides insights into how people interact with the content of the website. Whether link clicks, button clicks, or engage with a call to action methods implemented in your website. You can easily change the content structure of your website to meet customer requirements and increase your ROI (Return on Investment) with the help of this information.
Hope you got a better understanding of what is Google Analytics and why it exists. 🙂 Let’s now see how you can set up google analytics on WordPress. There are basically a couple of methods that we can follow. But before anything, you need to signup with Google Analytics.
Step one: Register With Google Analytics
Registering with GA is very easy. All you need is to go to Google Search and type “Google Analytics”. Then you will see the link to GA in the search result like below.
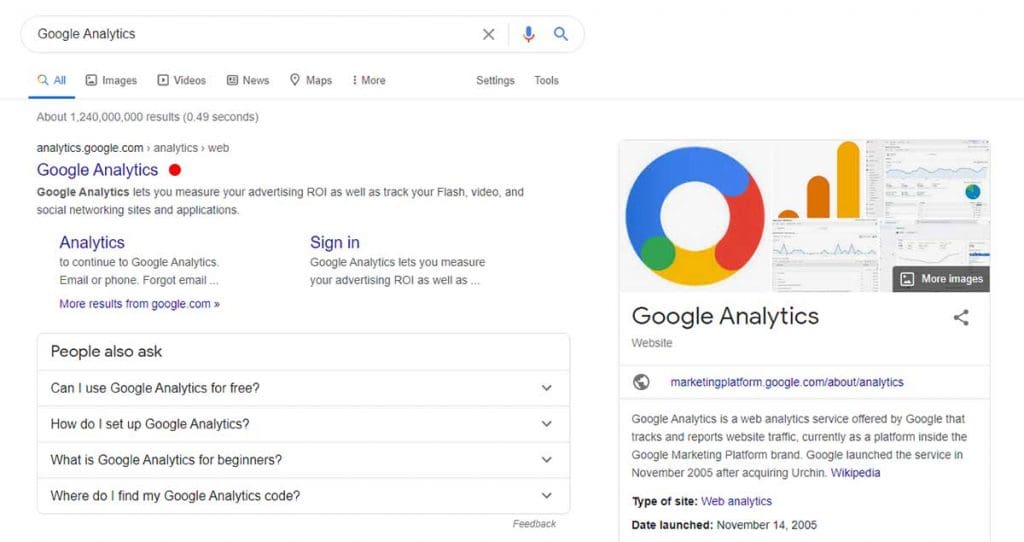
Then click on the link and visit. It will ask you to enter your email address and password if you are not logged in with your Google account.
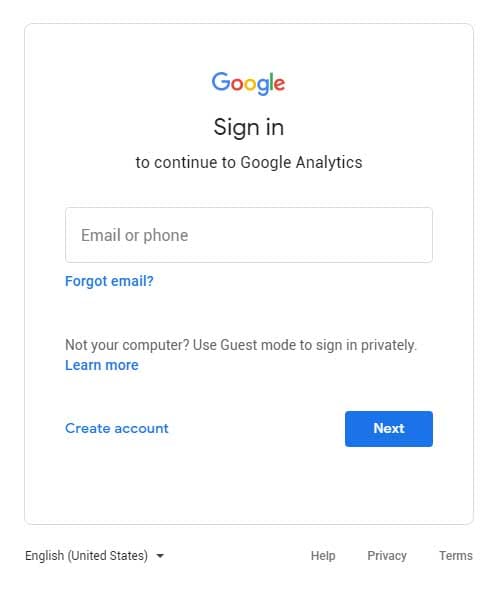
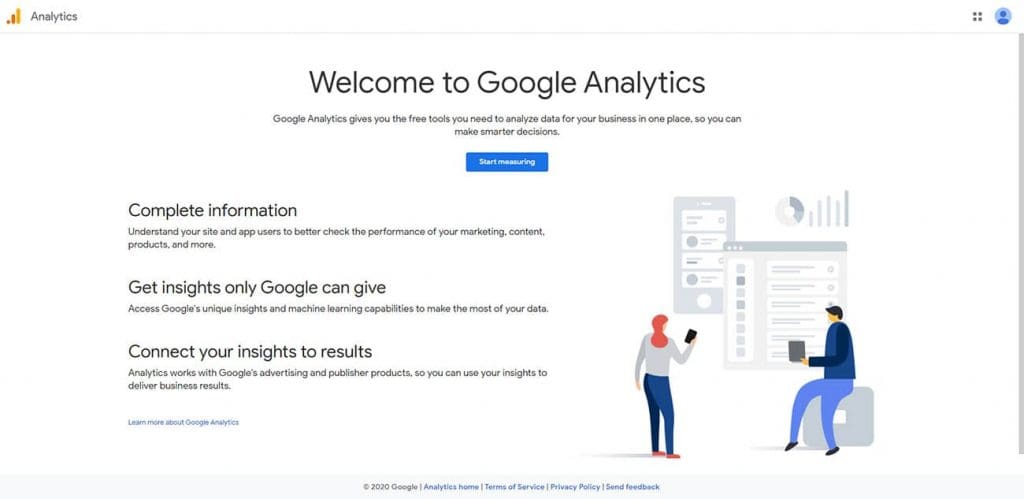
You have to enter your email and password in order to authenticate with Google. When you log in with your credentials it will take you to the start page of the Google Analytics Platform where you will be presented a screen like below.
Step two: Add your website to Google Analytics
Click on the button “Start Measuring” and they will ask you to fill out some information about your account and the website. As shown below, you need to add a name to the account. You can add one or more accounts and can create properties that associate with those accounts.
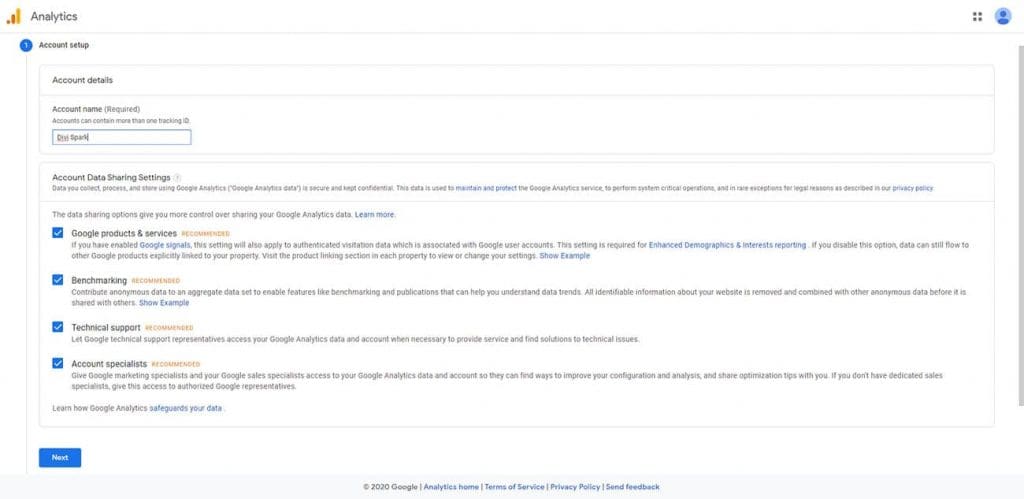
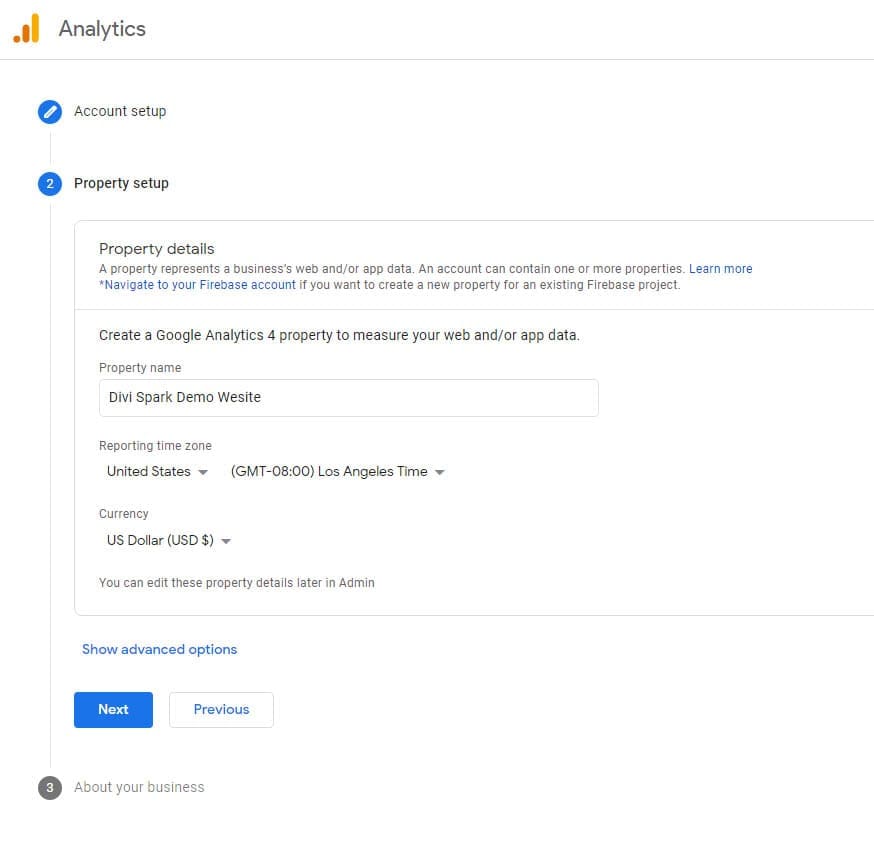
Type the name of your website and click “Next”. Then you need to add property details. For example, you can have an account called “Divi Spark” and can have properties like “Divi Spark Main Website” and “Divi Spark Demo Website” associated with the account. Give a property name, time zone, and currency of your preference, and click Next.
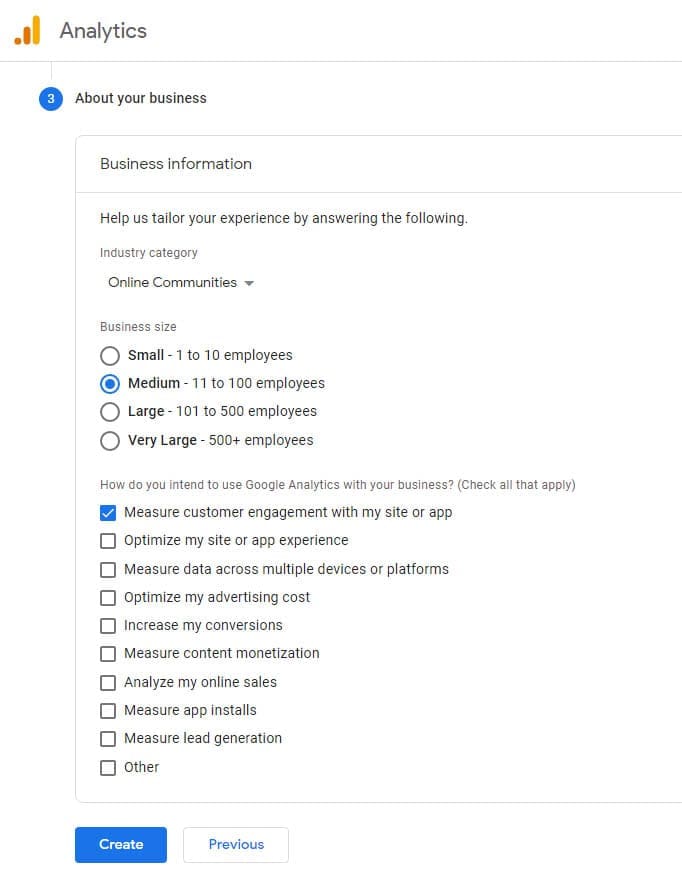
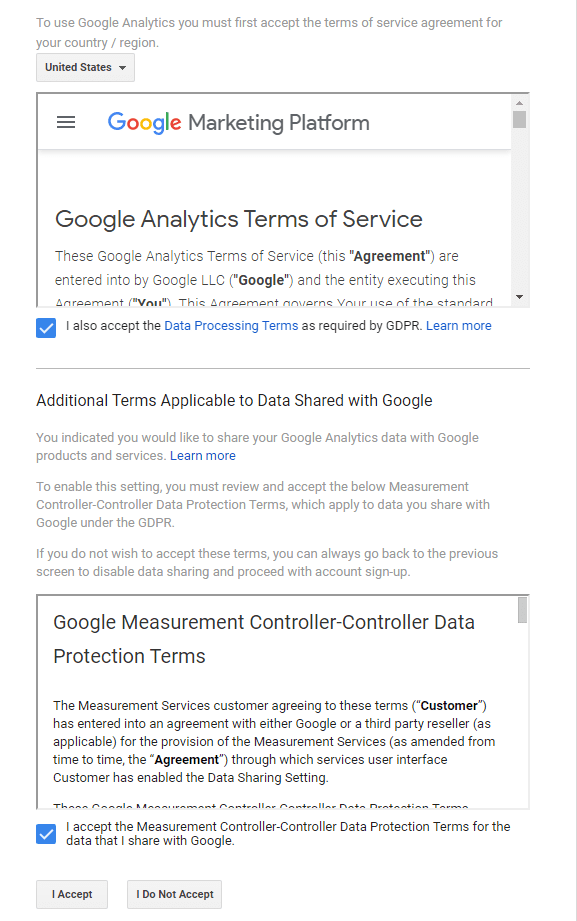
Next, you will be asked to enter some information about your business. Fill them in according to your business and click the “Create” button. Then you will be presented with a license agreement and click “I accept” after ticking inside checkboxes.
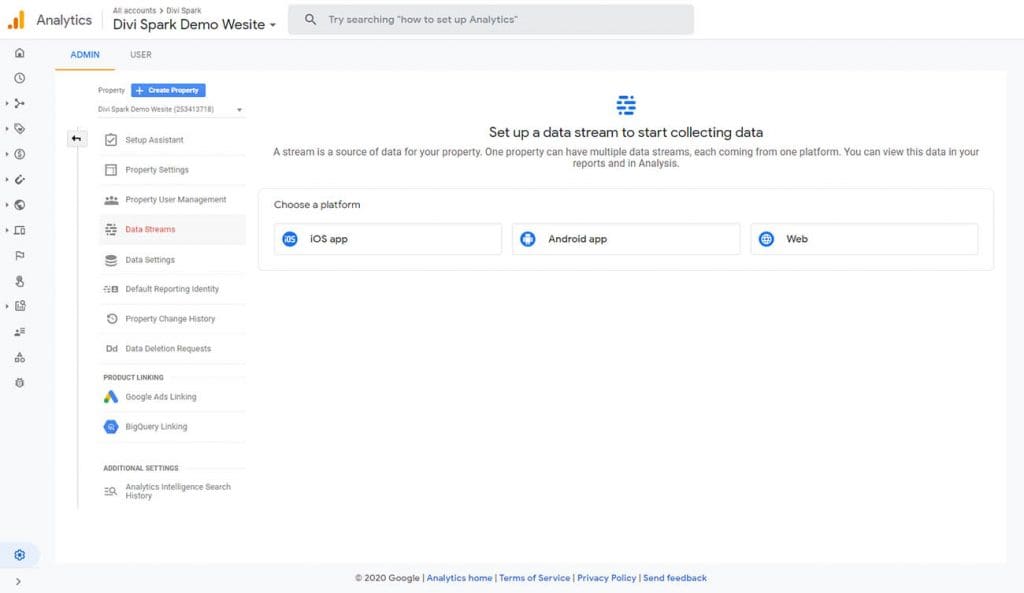
After that, you will be taken into the Dashboard and present with an area to select the platform of the property. As we are going to add analytics to our website we should choose “Web”.
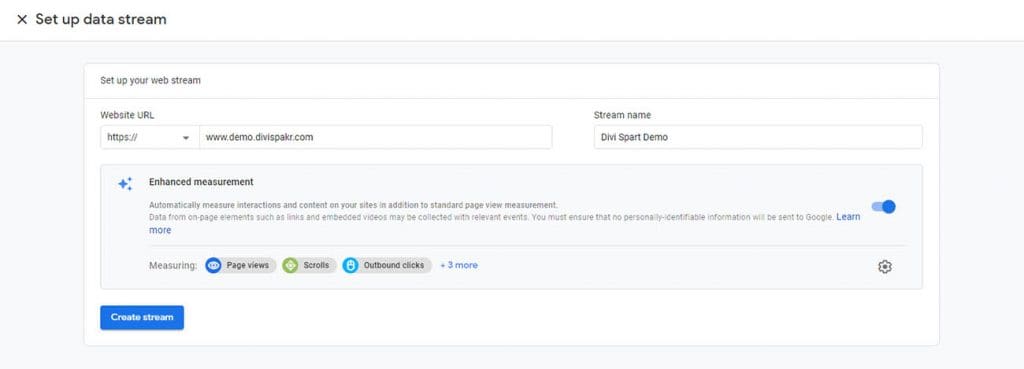
After selecting “Web” as the platform, you need to enter your website’s URL and a “Stream Name” please enter them accordingly, keep other settings as default and click the “Create Stream” button.
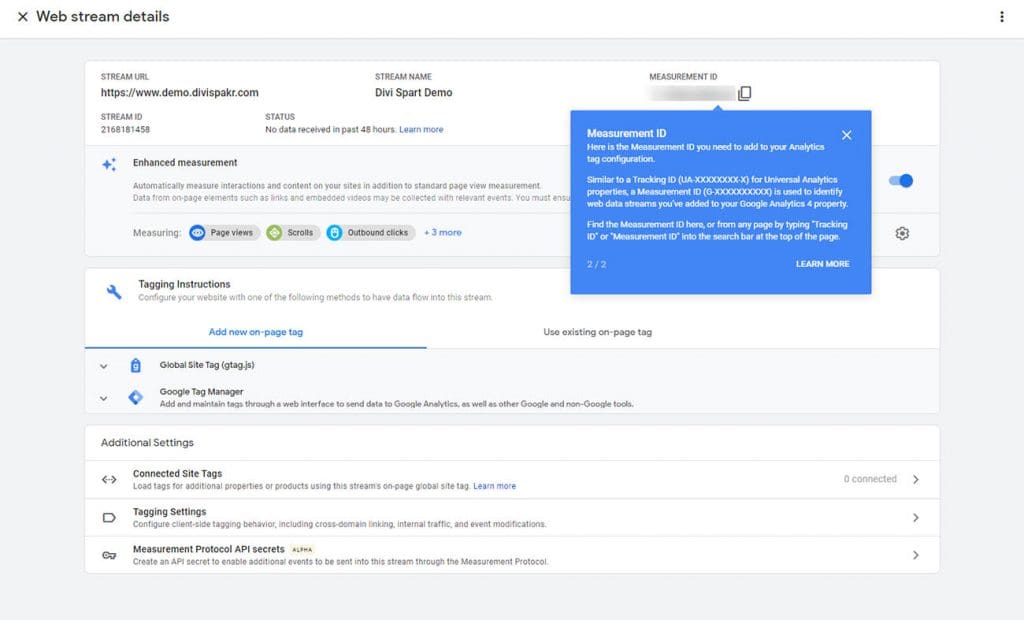
Next, it will create the stream for you and show you more details on how to connect Google Analytics with your website. There are 2 ways to connect your website with Analytics.
- Connect by manually entering the code into WordPress theme files
- By using the Google SIte Kit plugin
Let’s explore one by one.
Step three: How to connect your WordPress website to google analytics to WordPress without a plugin
Alright. This was the method most people used before plugins come to the game which makes the process easier and it still works great. What you need to do is copy the Global site tag from the dashboard.
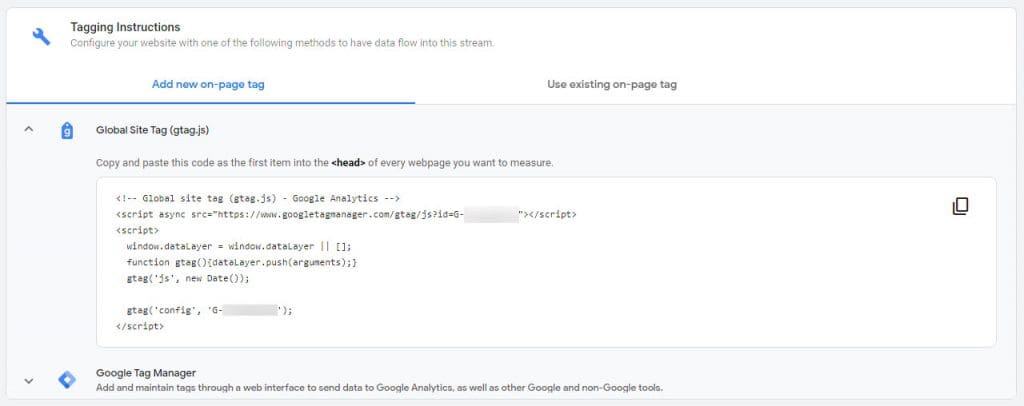
Then go to your WordPress dashboard to add it to the site.
Please note that you should not do any changes to your parent theme’s files. Please make sure that you have installed and configured a child theme before adding this code to your website. If not, once you update the theme, this code may be deleted from the file as news files replace the existing files.
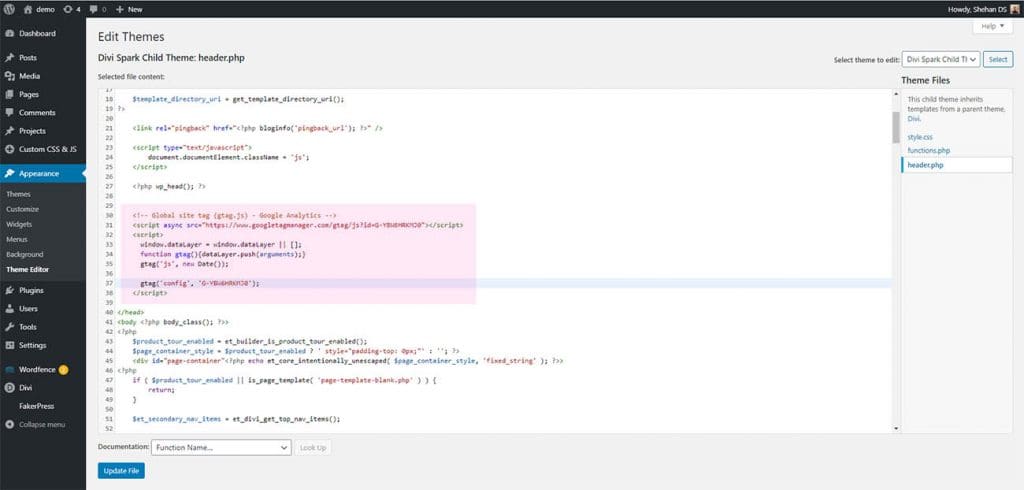
Go to Appearance > Theme Editor from the WordPress left-hand sidebar. On the right side, you will see all your files inside the child theme’s folder. Pick the header.php file and you will see something similar to the below.

After navigating to the “header.php” file, what you must do is to find the closing head tag (</head>). To do that click anywhere in the code and press Ctril+f on windows / Cmd + f on mac to enable the search feature and enter the tag into the search box. It will highlight the (</head>) tag in yellow and click before it and make some space by pressing the enter button couple of times. After that, paste your code before the closing head tag like below and click the “Save” button.
If you are a Divi Theme User
If you are using the Divi theme by Elegant Themes, the theme development team has introduced a separate section to add Code fragments into the Head and Body sections of the theme.
You can navigate to that section by clicking Divi > Theme Options > Integration and just paste the code snippet there in the Head section and click save. You are good to go.
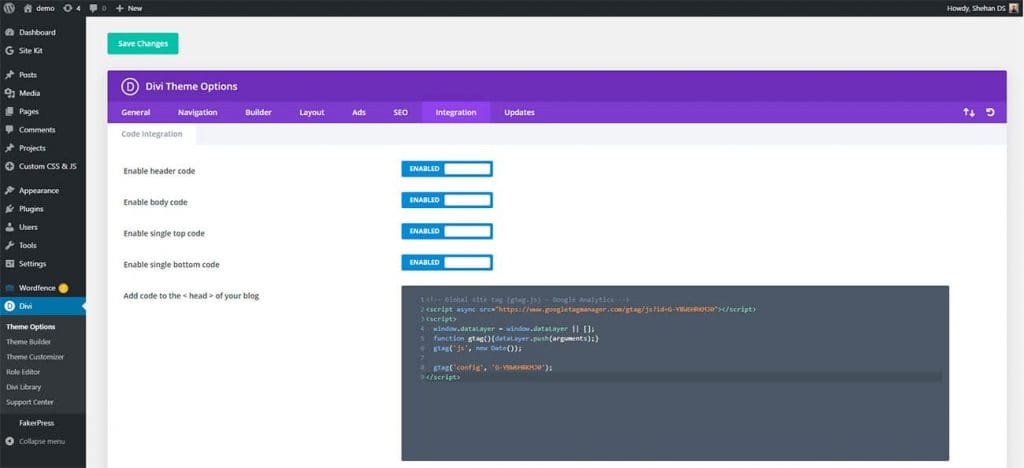
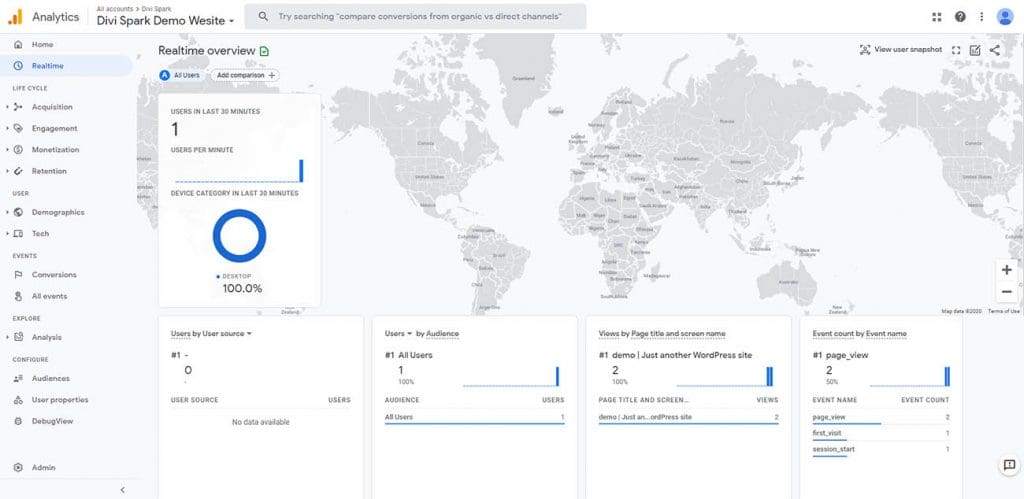
Wola! You have now connected your WordPress website with Google Analytics. To confirm it’s working you can open your website with Incognito mode on the browser and go to Google Analytics Dashboard.
Then navigate to Real-Time Dashboard by clicking the “Real-time” link on the left sidebar. If you have pasted the code correctly, it must show a single visitor on the dashboard.
Pretty easy huh? Now let’s look at how we can connect with the help of a plugin.
Connect your WordPress website to google analytics with a plugin
First, we need to install a plugin called Site Kit by Google. To install it navigate to Plugins > Add new and in the search box type “Site Kit by Google”. Once you found it, click on the “Install Now” button next to the plugin and activate it.

When you click “Active” you will be taken into the plugins dashboard. Click “Start Setup”. Then you will need to authenticate with google again with the same email you used to signup with Google Analytics before. Click the “Sign in with Google” button and “Allow” access. Then again a window will open to ask permission from you. Allow it also.
When you click “Allow” it takes you to a screen like below.
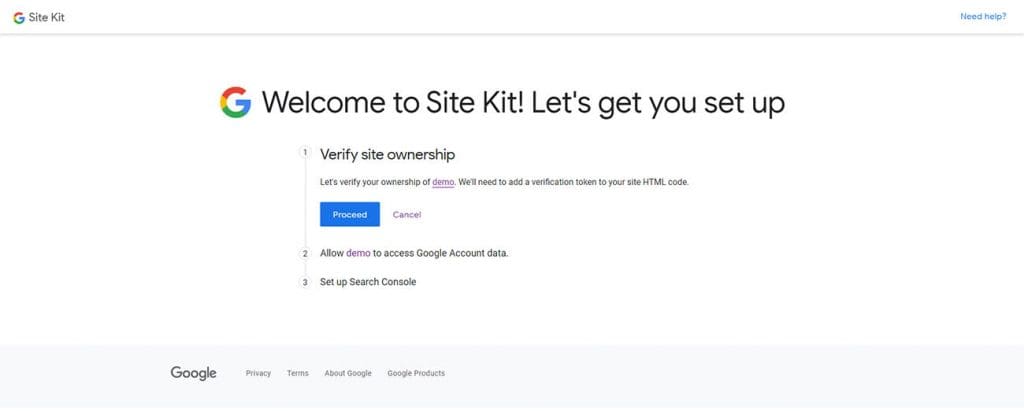
When you click the “Proceed” button, it will again ask for permission to access your Google account’s data to configure the plugin. Click “Allow” again.
After allowing you will have to add your website into the Google Search Console (former Google Webmaster Tools), it’s required if you want to use this plugin.
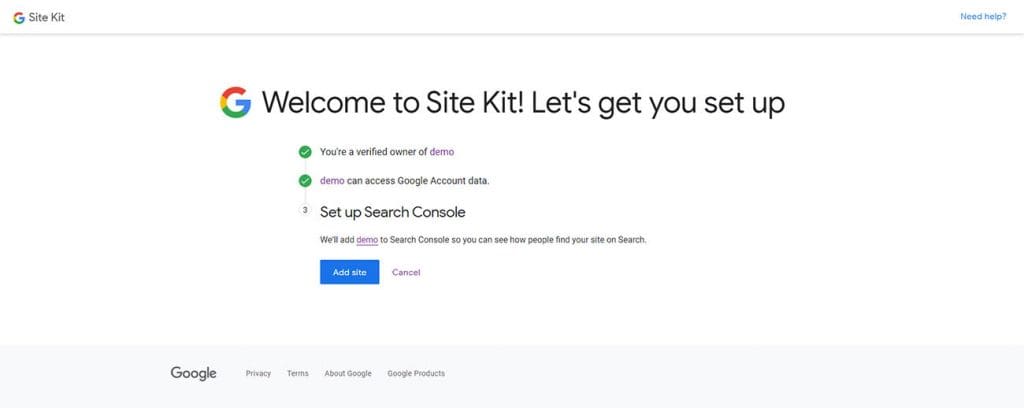
Click on “Add Site” and you will be presented with a Confirm Screen.
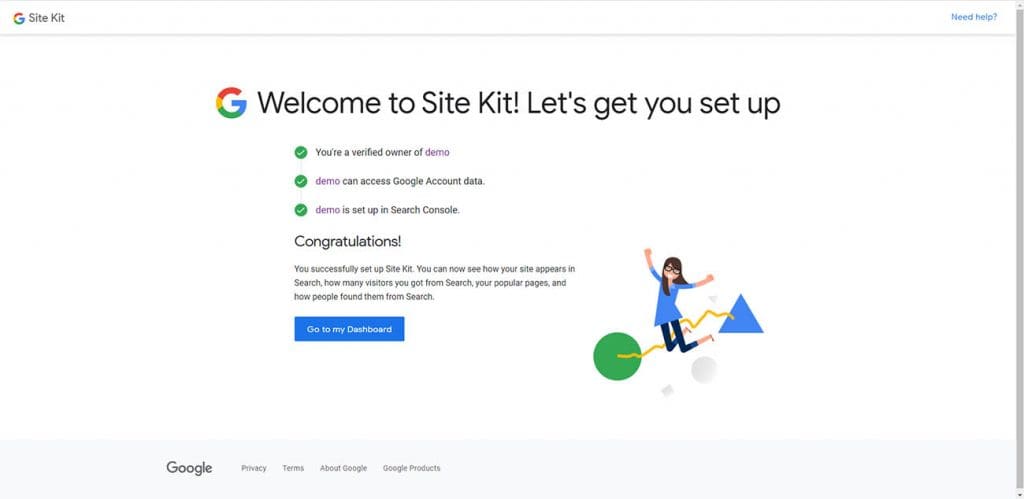
In order to add analytics, you have to click “Go to my Dashboard”.

Click on the “Connect Analytics” link and log in with the same email that you signup with Analytics. Set of permissions popups will appear as before and make sure you “Allow” them all. After that, you will be again redirected to the WordPress Dashboard.
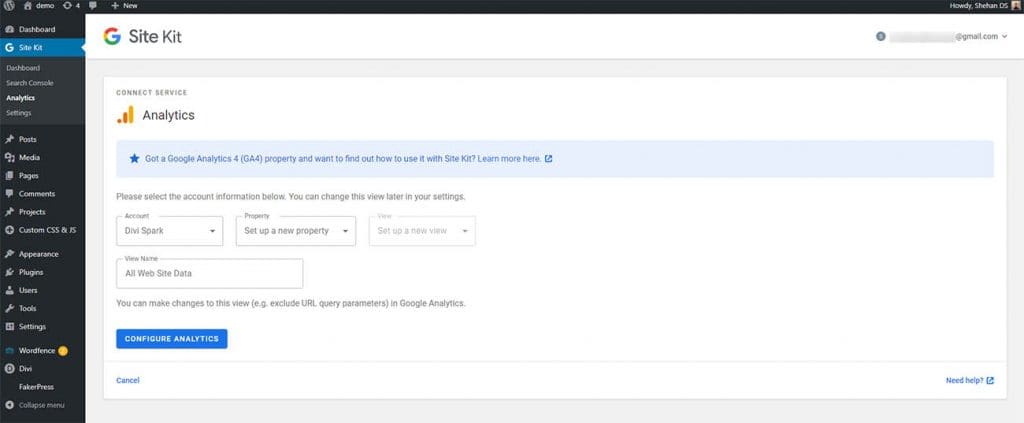
Select your account and property that you have created before, give a name to the view and click on the “Configure Analytics” button. If you come across a popup asking for permission, click “Proceed” and authenticate with google again.
If you have done all the above steps correctly, you are now connected with Google Analytics. It will take up to 24hrs to show data on the dashboard. Please give it some time and check back later.
Once done, you will be able to check analytics from inside of your WordPress dashboard without going into Google Analytics’ official website. It’s an advantage of using this plugin.
The Analytics Dashboard
Google’s Analytics Dashboard is divided into many different parts and let’s see what are the main parts.
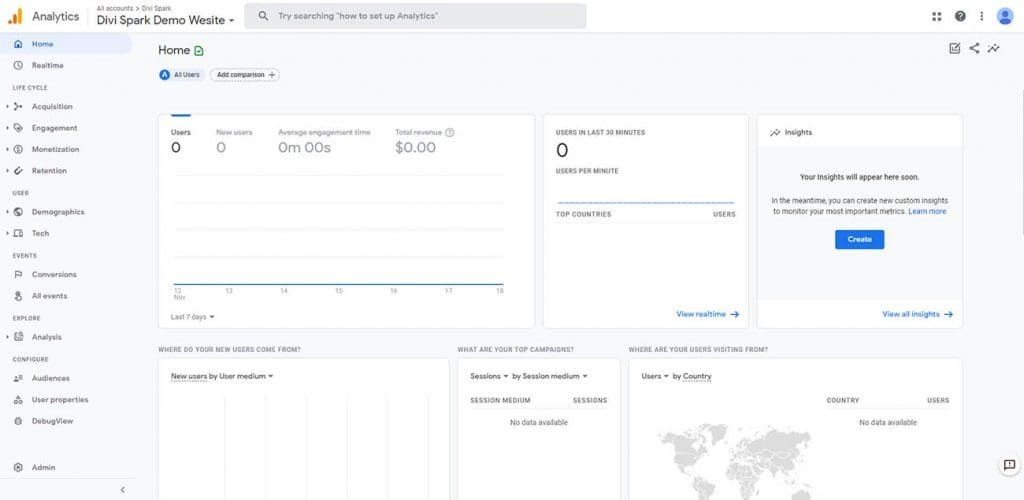
Real-Time – By navigating into this section you can see all the stats of the real-time data (what is currently happening) inside your website.
Audience – This page will help you to deeply investigate your users based on different factors like age, location, and time.
Acquisition – These reports will show you where your users came into your site, whether they came from Google search results or from another website etc.
Behavior – This shows you what users do after they land on your website whether they navigate inside your website, the pages they navigate, and things like that.
Conversion – This shows whether your website is optimized enough to achieve your goals.
That’s it. I hope this article will help you to learn how to add Google Tracking Code in WordPress. With a plugin and without a plugin. We hope to bring more articles about Google Analytics in the near future. Stay tuned with us till then.

