
Table of Contents
What is a Preloader?
Most of you may have seen websites with images or other animations (preloader) shown on screen before the page content has loaded. These are known as preloaders (or loaders), and you will see them eventually on-screen until the website has loaded successfully in the background. Various types of exciting preloaders are used in websites to retain their users while server operations are happening.
Divi is optimized to load within seconds, but there could be much other content that could slow down your site. Did you know that at least a loading time of a few seconds could distract your users?
Give superpowers to Divi theme with the UDBA plugin
What is the Use of a Preloader?
Sometimes, web pages might take some time to finish server operations and complete loading. Did you know that users may get bored and bounce from your website if the content isn't loading soon? This happens because people do not prefer looking at empty screens, and they can leave the screen at any time.
Websites use preloaders to overcome the issue mentioned above. It is very important to use a preloader if your website needs some time to load after performing server processes. In more simple terms, let's identify the use of a preloader as follows. The use of a preloader is to keep the user entertained while the genuine content of the website is loading in the background. Sometimes, using a preloader might be arguable. But, we know how important it is to keep the visitors entertained until the site loads in the background. Thus, in this article, you can find how to use a preloader on your Divi site. It could also work with other compatible WordPress sites, and you could give it a try if interested.
How Can a Preloader Improve User Experience?
With the number of websites increasing per second online, your website may gain more competition in retaining users. For example, users may feel bored for seconds that are wasted away looking at a blank screen or halfway loaded incomplete website. It could be more harmful than you think, and users may just close your web page and look into a competitor's website. As a web designer, you should think about increasing the user experience and making the waiting time less boring for the users. This could help you create more converting websites for you and your clients.
Sometimes you may think about displaying a loading message with percentages or just a simple bar filling in. But, did you know that this type of preloading screen would also be boring for the viewers? Yes, they could take up high resources, and still, the user experience is not optimized as we needed. So, web designers had this problem for some time and came up with simple and even unique custom animations to display while the content is loading in the background to overcome this problem. Preloaders could be anything that is small in size and can attract users. In this article, let's look at using gif animations or CSS animations for preloaders to improve user experience. Also, we will be further looking at how to use multiple preloaders in your Divi site.
How to Setup an Animated Preloader in your Divi Site?
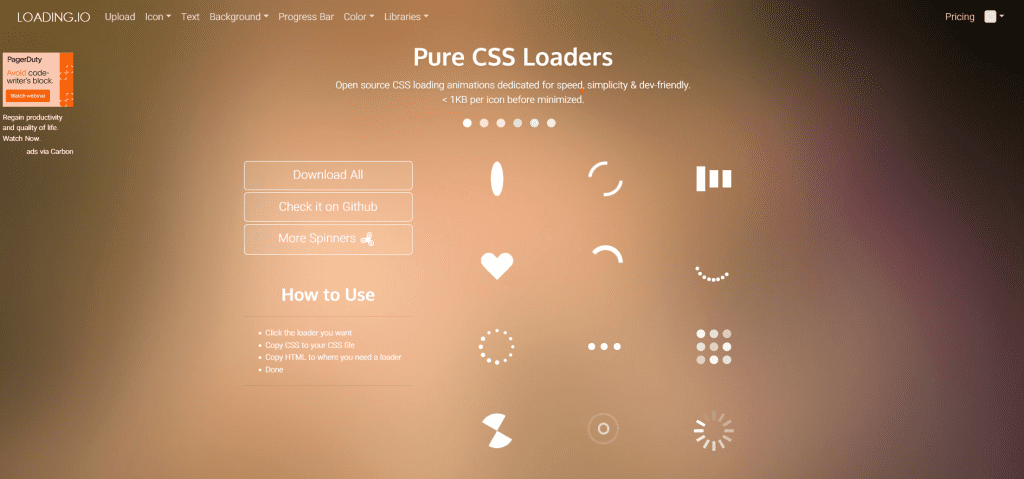
Today, we will be creating an animated custom preloader to increase user experience and user engagement in your site. Make sure you have your own premade animation in .gif format before moving on to the first step. You can use Adobe Photoshop to create unique .gif animations, or even you can generate one online. Loading.io is a website where you can customize and get one for free.
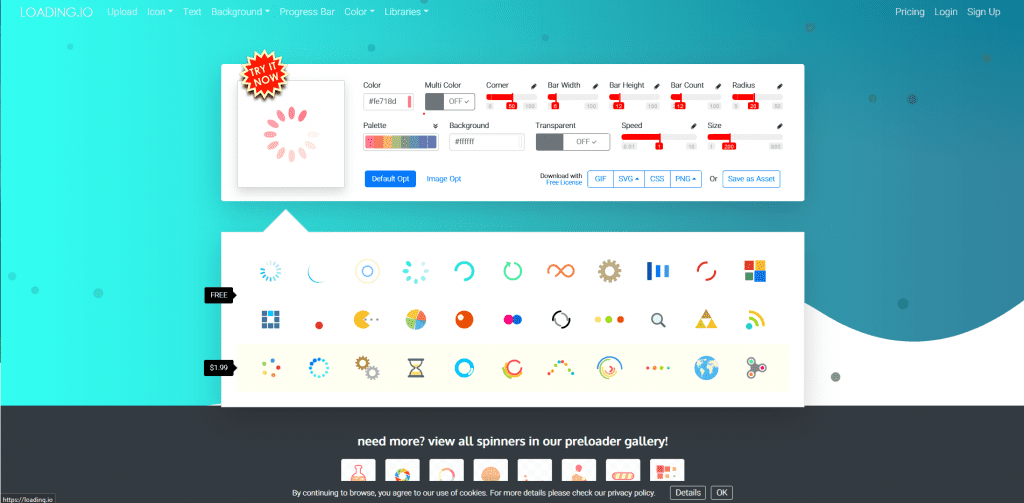
After visiting loading.io, please select one of the premade layouts and customize it using the customizer. Then, download your animation in .gif or any image format you prefer. I recommend using .gif format as it allows using short animations as an image. You may have to sign up for free to download it, and you could do so by signing up with google easily.

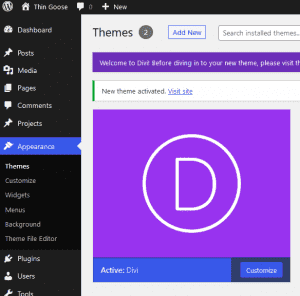
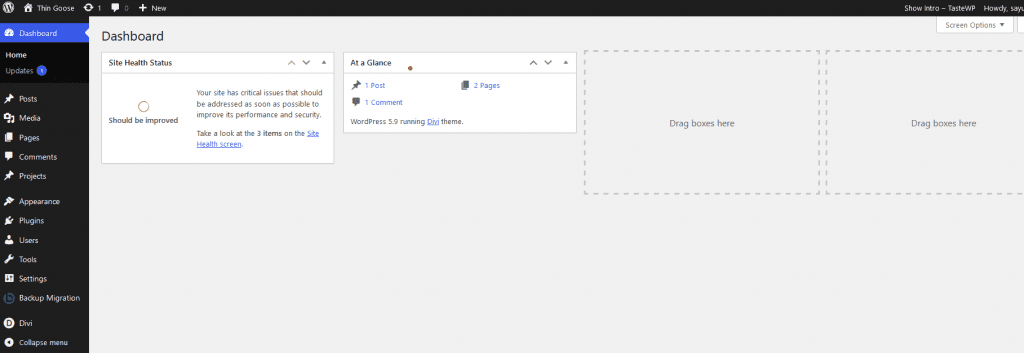
As you have your animation ready with you, now you can visit your WordPress admin dashboard. As the first step, you can install and activate the Divi theme if you haven't done it yet by visiting Appearances > Themes > Add New.
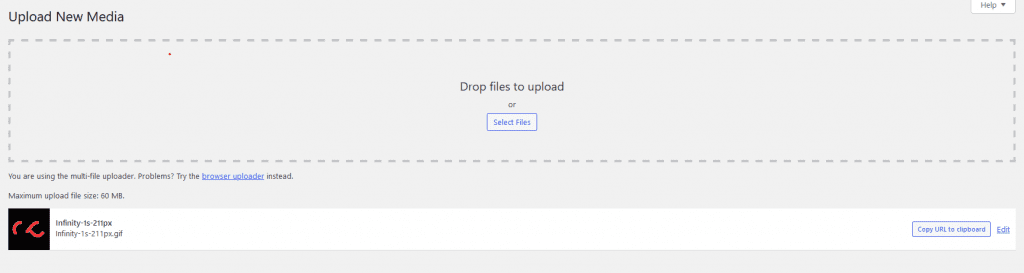
Next, visit Media > Add New to upload the image file (svg, gif, png, etc.) to the WordPress media library.
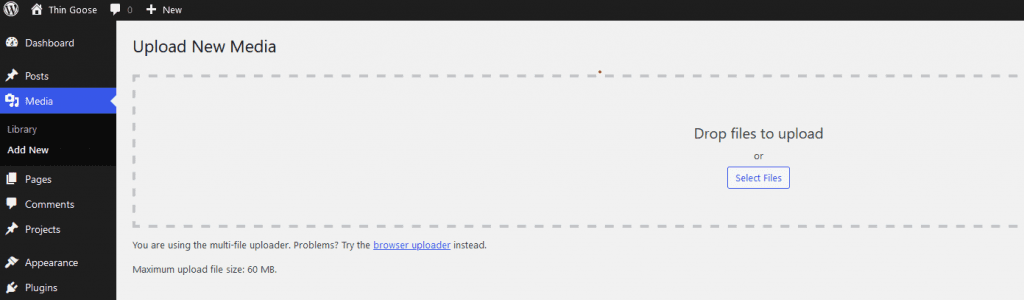
You can drag and drop the file or click on the select files button to choose the file from your computer and upload it.
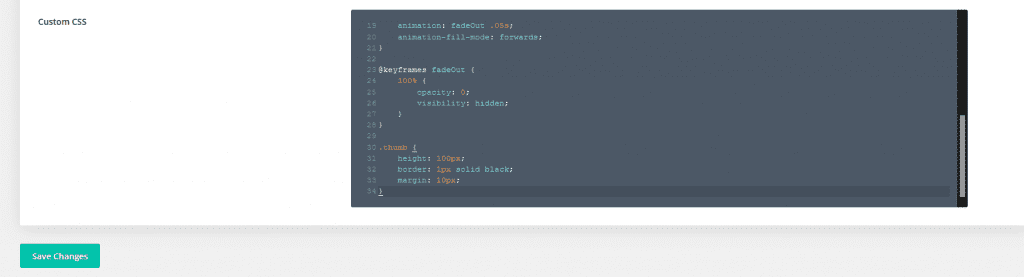
Congratulations, now you have your animation uploaded to your Divi site. But the essential stuff to get it working as the preloader is remaining. Visit Divi > Theme Options and scroll down to find the custom CSS option.
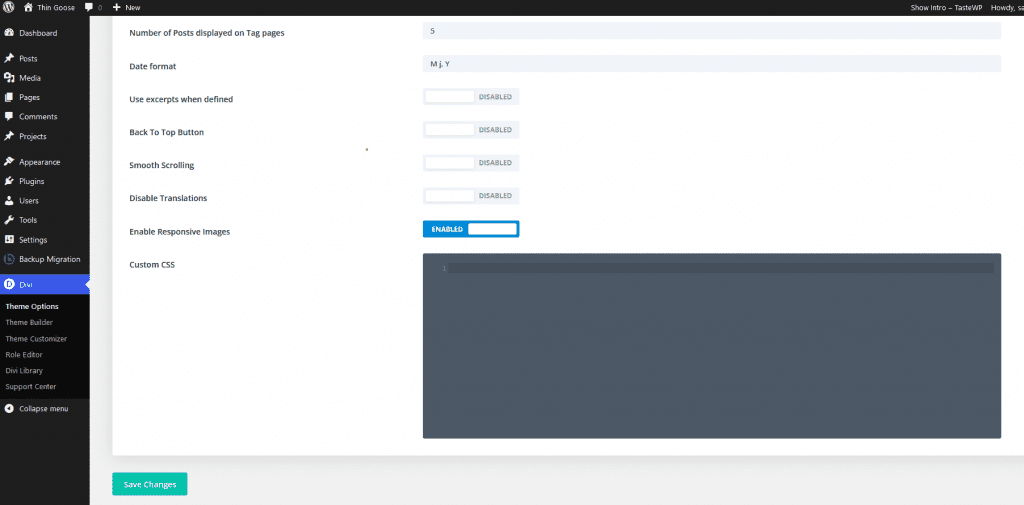
Copy the following code to the empty code area and click on save changes to save and activate your code snippet.
.loader {
    position: fixed;
    z-index: 99999999999999;
    top: 0;
    left: 0;
    width: 100%;
    height: 100%;
    background: white;
    display: flex;
    justify-content: center;
    align-items: center;
}

.loader > img {
    width: 100px;
}

.loader.hidden {
    animation: fadeOut .05s;
    animation-fill-mode: forwards;
}

@keyframes fadeOut {
    100% {
        opacity: 0;
        visibility: hidden;
    }
}

.thumb {
    height: 100px;
    border: 1px solid black;
    margin: 10px;
}
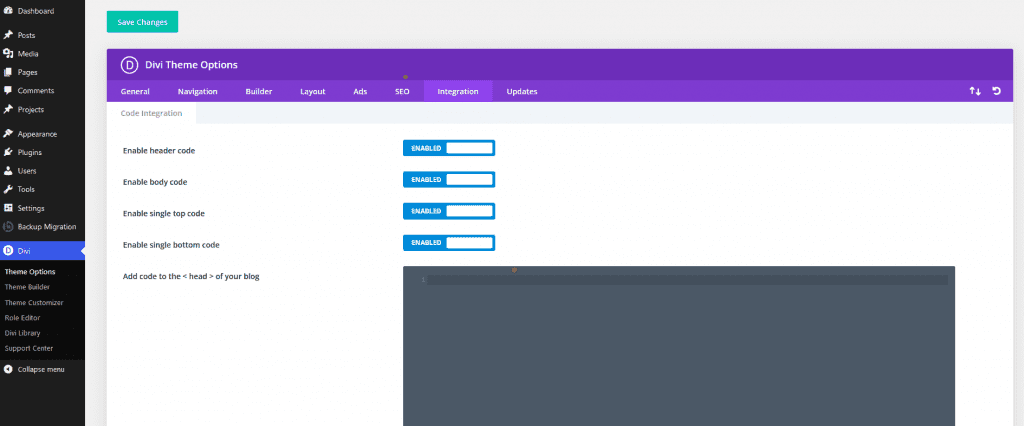
Then visit the "Integration" tab in the Divi > Theme Options to set up the JS script and the HTML tags.
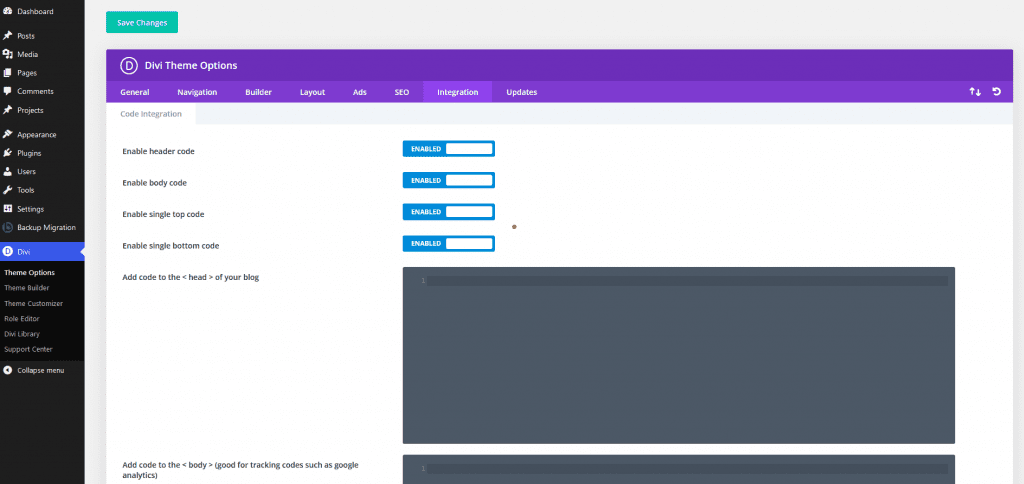
In the "add code to the <head> area of your blog" area, set up <script> tags as the below screenshot before proceeding to add the code.
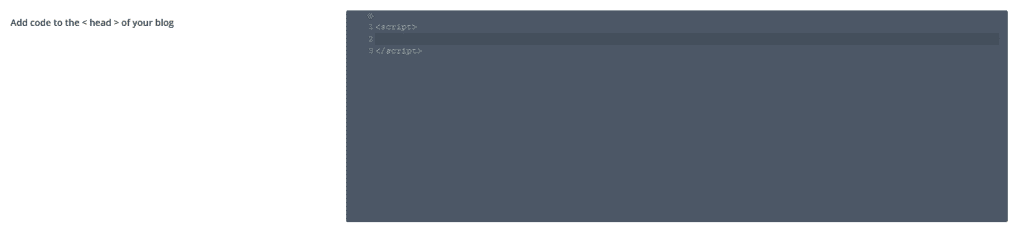
After that, you can copy the below code inside the <script> tags that you created in the previous step.
window.addEventListener("load", function () {
    const loader = document.querySelector(".loader");
    loader.className += " hidden"; // class "loader hidden"
});
Below that area, you will find another code area labeled, "Add code to the <body>. Copy the following code snippet to that area.
<div class="loader">
<img src="#" alt="Loading..." /></div>

Click on the "save changes" button to save and activate the code you added in the <head> area and <body> area.

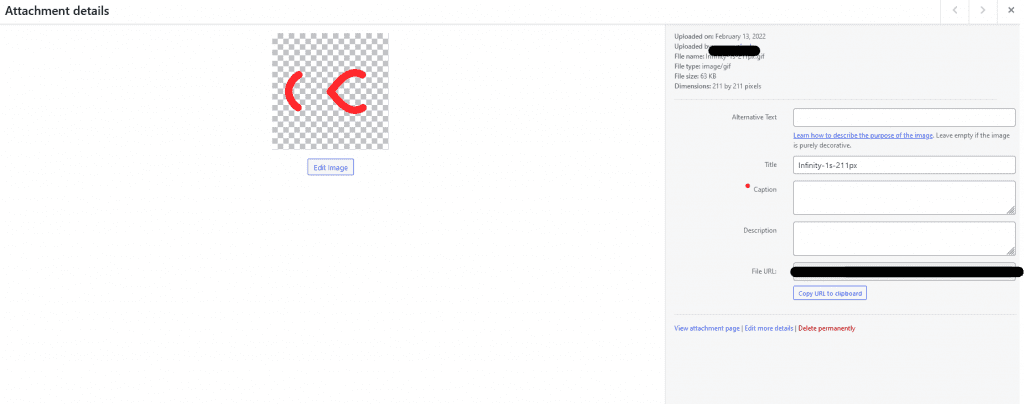
You can see that in the HTML code I've provided above, there is no image URL in the src property. You have to replace the # with the link of the .gif file you uploaded earlier to the media gallery. To do this, visit Media > Library and click on the gif you uploaded.
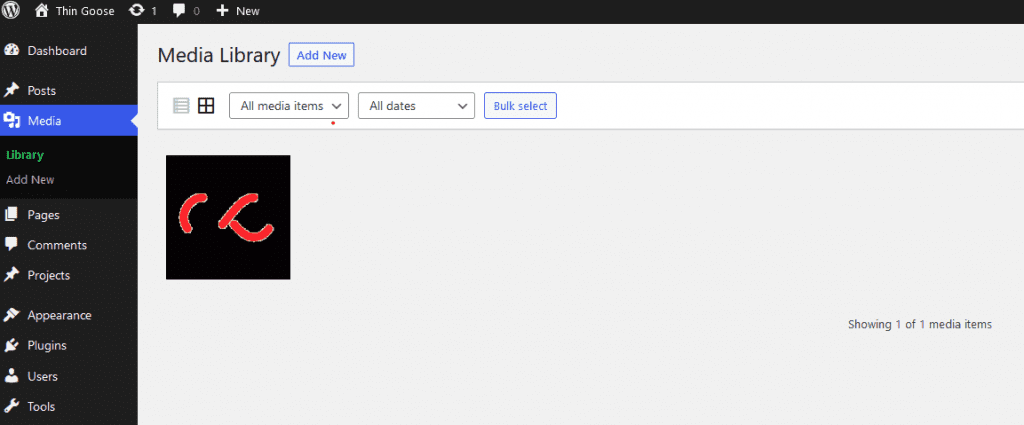
Now you can click on the "copy URL to clipboard" button to copy the image URL.
Finally, go back to the "integration" tab in Divi > Theme Options and replace the # with the URL you copied now. Do not forget to save your changes after this.

Great, now your Divi preloader should work perfectly on your Divi site. Visit your site to check your Divi preloader live in action.

We have completely set up an image preloader using the above method. But you may already know that you could also use CSS to create a preloader instead of using a .gif. Let's find out more about CSS loaders and how to set up one in your converting Divi site.
What are CSS Preloaders?
CSS preloaders are attractive animations designed using pure CSS code instead of animated images. Using a preloader like this can be more user-friendly and highly improve the user experience of users who have slower connections as their size is smaller than images.
If you are a CSS expert, you can create your own CSS animation for this. If you aren't, you do not have to worry as you can find many attractive pure CSS loaders for free at loading.io/css. Other noteworthy advantages of using these CSS loaders are that they are open source and free to use. Thus, you won't have to pay high costs, unlike licensed images.
How to set up a CSS Preloader on your Divi site?
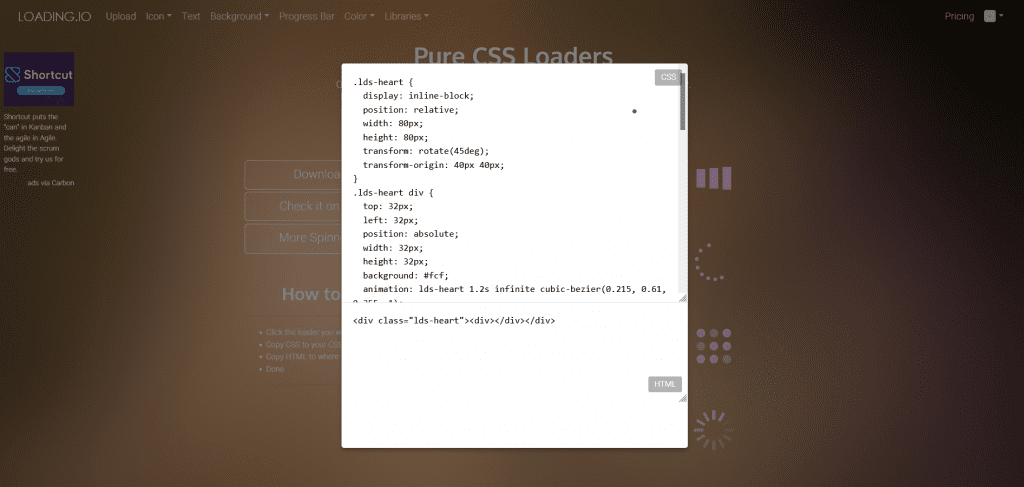
We will be using the loading.io CSS samples to implement an extremely lightweight loader onto your site. Visit the site and click on the animated icon that you prefer to use on your Divi site. Then, a popup will open with a CSS snippet and a JS snippet.
Now keep that page open and visit your WordPress dashboard to get started.
As usual, confirm whether the Divi theme is installed and activated in Appearance / Theme before proceeding with further steps.
Visit Divi > Theme Options and scroll down. You will see a code area to input custom CSS to your Divi site.
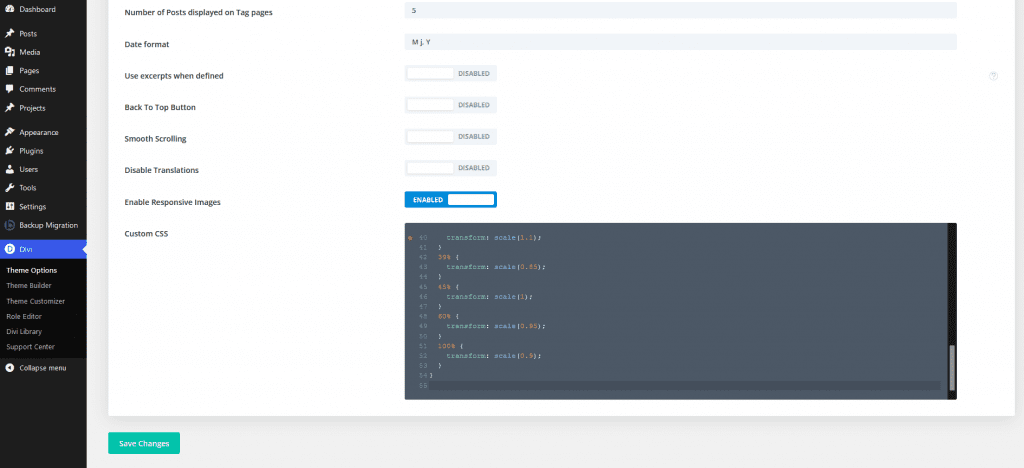
Copy the CSS code generated in the popup from the loading.io website and paste it there. The code will look similar to the following.
.lds-heart {
    display: inline-block;
    position: relative;
    width: 80px;
    height: 80px;
    transform: rotate(45deg);
    transform-origin: 40px 40px;
  }
  .lds-heart div {
    top: 32px;
    left: 32px;
    position: absolute;
    width: 32px;
    height: 32px;
    background: #fcf;
    animation: lds-heart 1.2s infinite cubic-bezier(0.215, 0.61, 0.355, 1);
  }
  .lds-heart div:after,
  .lds-heart div:before {
    content: " ";
    position: absolute;
    display: block;
    width: 32px;
    height: 32px;
    background: #fcf;
  }
  .lds-heart div:before {
    left: -24px;
    border-radius: 50% 0 0 50%;
  }
  .lds-heart div:after {
    top: -24px;
    border-radius: 50% 50% 0 0;
  }
  @keyframes lds-heart {
    0% {
      transform: scale(0.95);
    }
    5% {
      transform: scale(1.1);
    }
    39% {
      transform: scale(0.85);
    }
    45% {
      transform: scale(1);
    }
    60% {
      transform: scale(0.95);
    }
    100% {
      transform: scale(0.9);
    }
  }
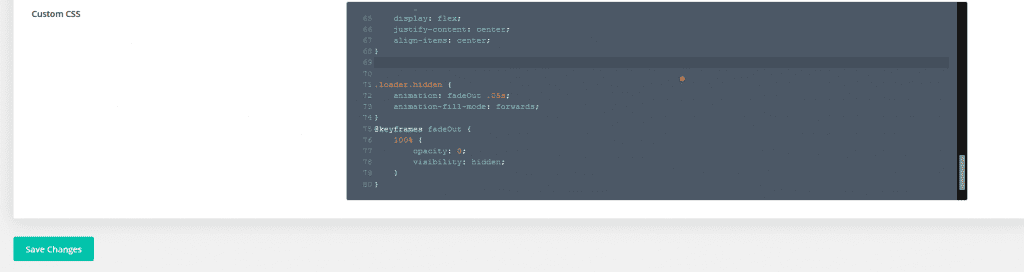
Now, you should also add the following CSS code below the CSS animation code. And as usual, never forget to save changes after adding the code snippets.
.loader {
    position: fixed;
    z-index: 99999999999999;
    top: 0;
    left: 0;
    width: 100%;
    height: 100%;
    background: white;
    display: flex;
    justify-content: center;
    align-items: center;
}

.loader.hidden {
    animation: fadeOut .05s;
    animation-fill-mode: forwards;
}

@keyframes fadeOut {
    100% {
        opacity: 0;
        visibility: hidden;
    }
}
Then, visit the "integration" tab in Divi > Theme Options to add the script and the HTML code.
Create the opening and closing <script> tags in the code area labeled "add code to the <head> of your blog."
Copy the following script within the <script> tags to set up the loading feature on the site.
window.addEventListener("load", function () {
    const loader = document.querySelector(".loader");
    loader.className += " hidden"; // class "loader hidden"
});
After that, scroll down, and you will see a code area labeled "add code to the <body>." Create opening and closing div tags with a class named "loader."

Now, go back to the loading.io page and copy the HTML snippet from the popup. The code will look something similar to the following code snippet.
<div class="lds-heart"><div></div></div>You can paste that code in the "loader" div, which we created in the body.

Now you can save your changes. --And, Congratulations! You have set up a pure CSS loader in your Divi site successfully. Finally, feel free to check your preloader by visiting your website.

How to Add a Delay to the Preloader?
Sometimes, the visible time of the preloader could be milliseconds where the site loads fast. But still, do you need your customers or users to see the preloader actively for at least a second or more? If your preloader seems interactive and so important, it could be okay to add a delay to the preloader, so everyone takes a glimpse of the creativeness.
If you want to add a waiting time before the preloader fades away, you can proceed with the following steps after setting up the preloader using any of the above two methods.
First, create a function to handle the delay. Visit the "integration" tab in Divi > Theme Options, and you will find the code area labeled "add code to the <head> of your blog." Then, you can copy the following code snippet into the <script> tags you made earlier.
function wait(ms){
    var start = new Date().getTime();
    var end = start;
    while(end < start + ms) {
      end = new Date().getTime();
   }
 }
After creating the function "wait" to handle the wait time, you can run the operation by adding the following code into the middle of the EventLister in the same JS script. Please check the next image to find the exact location to place the following code.
wait(1000);
Note: You can change the timing to anything you prefer by changing the number in the wait function, which we added now. By default, I have used 1000 as 1-second equals 1000 in the code.
Congratulations! Now, you know how to create and set up your own preloader on the Divi site without using any additional plugins. Also, you learned how to add a delay time if you need everyone to see the preloader before loading, even if the background processes of the server finish earlier.
How to Add a Preloader to a Few Pages on a Divi Site?
Have you ever wondered about using different loader animations on different pages? Or even are you looking to add a preloader only to a few pages instead of the complete website? Thus, let's find out how to implement the preloader on separate pages using the Divi visual builder.
First of all, you can add the CSS code to Divi > Theme Options following the above instructions. And you can do the same by adding the JS script to the header via the "integration" tab in Divi theme options.
Then, leave the body code area empty and save changes without creating the <div> tags.
Next, visit Pages > All pages and think about the pages where you will add various preloader animations manually.

Now, click on "edit with Divi" on any page you need to add your animation, and Divi's visual builder will load. Then you can click on the "+" icon in a row to add a new module.
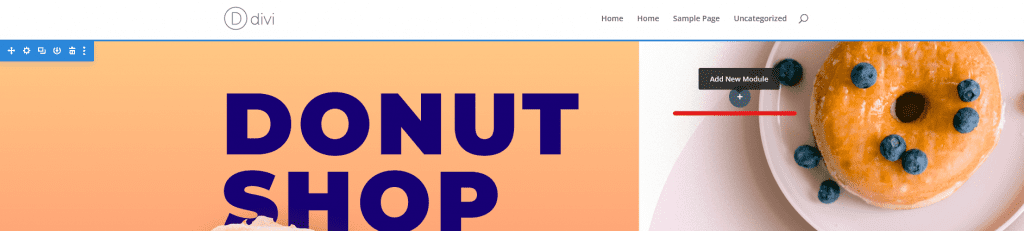
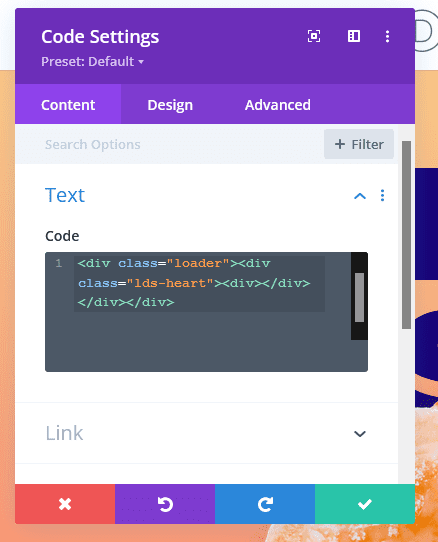
After that, add a "code" module to your section and get started.

Paste the HTML code snippet in the code module. You can get the HTML code we used in either method to add a .gif preloader or a CSS according to whichever you prefer.
Now save your page, and you can exit the visual builder after the saving process is done.

Great! Now you have successfully set up the preloader only to a single page. You can repeat these steps to add a preloader to any other page on your site without using any additional plugins.
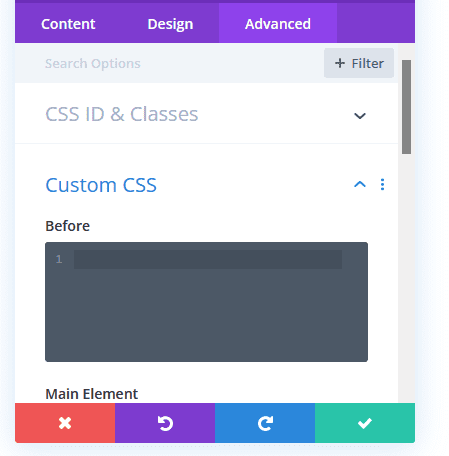
Note: You can use different types of preloaders on other pages as you prefer by including the corresponding CSS code with it. Here, you can remove the CSS styles from the Divi theme options and place them in the "Custom CSS" area under the advanced tab in the code module.
That's all about adding a preloader to a Divi site without using any additional plugins. If you have any questions, please drop them in the comment section below. I hope this will help you create a preloader to increase the visual user experience of your site viewers.
NEXT: 30 Must-See Tutorials for Mastering How to Use WooCommerce with Divi >
Maravillosa información, muchas gracias por compartir. 😉
Thank you for this! Can’t find out how to extend a little bit the time for the preloader to show, before the blog opens? 🙏
( animation: fadeOut 5.50s) just makes my GIF stick out a bit longer but superposed under the homepage that opened itself already.