Table of Contents
Have you seen those wonderful animated backgrounds on websites(mostly on tech company websites) that respond to mouse moves? Recently I worked on a local company, and I added that wonderful feature, and the customer was pleased with it. So I thought if I showed you the way, the easy way actually, you can use it on your project and make your client happy too. 🙂
We are going to use a wonderful Javascript plugin called ParticleGround here to achieve the result. I am going to show how I did with the Divi page builder. But if you are using something else it's totally fine, just follow the steps, and you will be able to do the same. So let's dive in and see how to do it.
Give superpowers to Divi theme with the UDBA plugin
Step One: Create the design
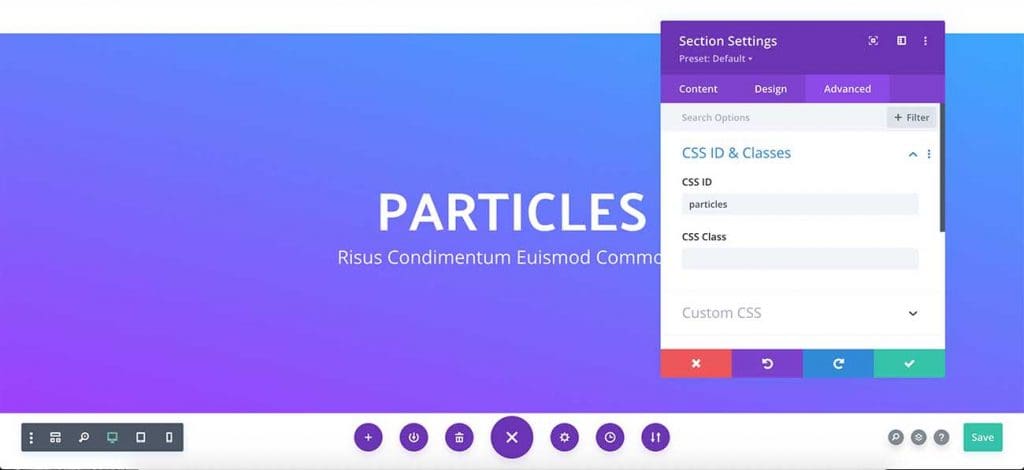
Let's create our design first. I added a Regular Section to the page and added some content inside. As you can see I have set a gradient as the section background. Do whatever you want to make it looks cool. The most important thing is to add the ID - particles to Section Settings > Advanced > CSS ID & Classes > CSS ID.
Step two: Download particleground.js
We are using particleground.js to create animated backgrounds inside Divi pages. Let's go to the website and download the files.
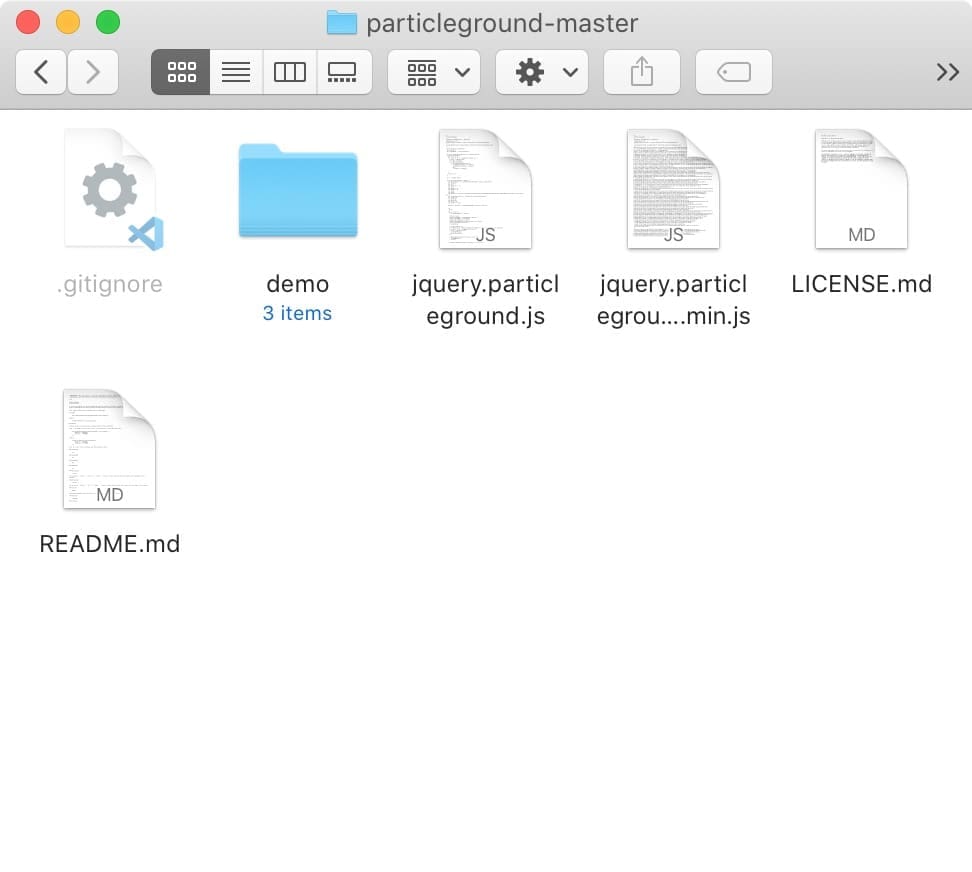
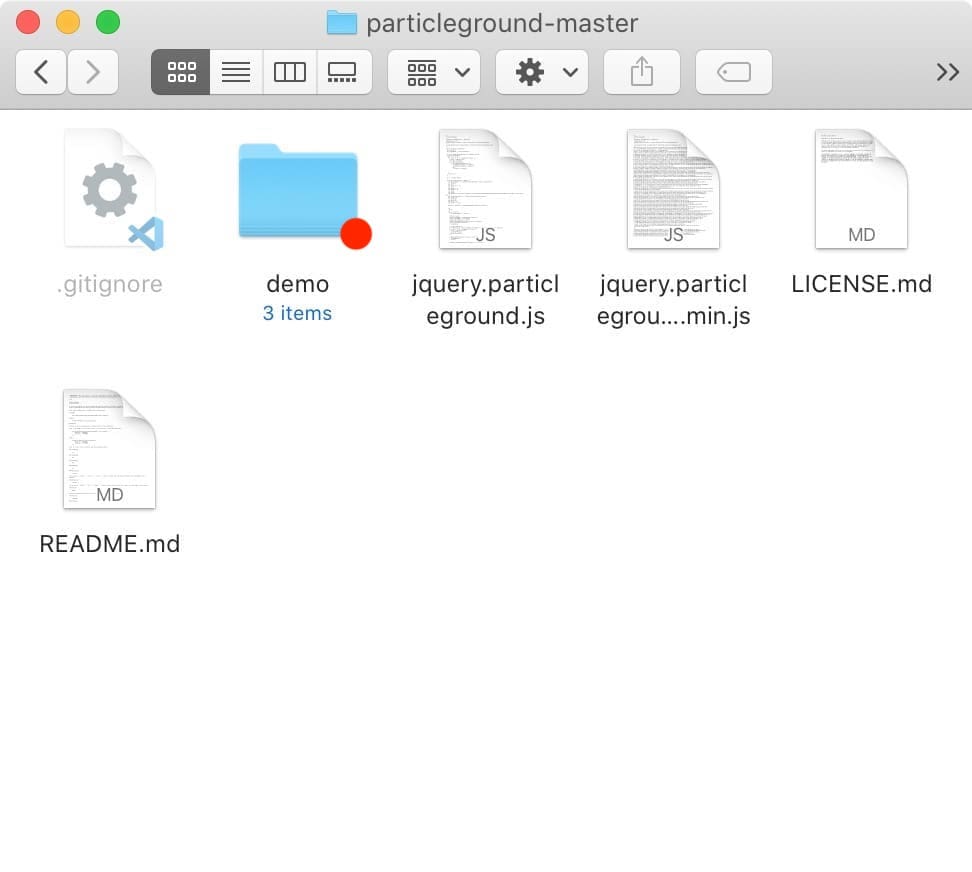
Once you downloaded the files package, unzip it. You will find a few items there(See the below screenshot). The most important one for us is jquery,particleground.js file. We need to add that JavaScript file to our website.
Upload the file to your child theme folder
Hope you are using a child theme. If not, I strongly suggest you do it now. There are two options here. You can upload the file with an FTP client like FileZilla or upload it through the hosting Control panel. Let's do the second option as it is easier for a beginner.
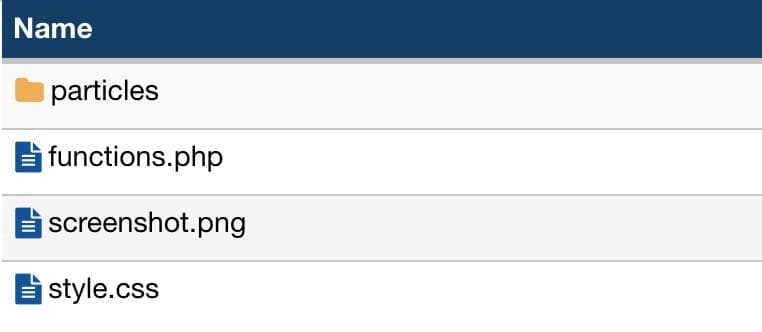
Go to the Control Panel of your web hosting. Open the file manager and find your child theme folder (Your path will be something like public HTML > wp-content > themes > your-child-theme-name). Then create a folder called particles inside your child theme folder and upload the jquery.particleground.js file inside.
Ok. now go to the WordPress Dashboard > Appearance > Theme Editor and choose your child theme's function.php file. We are going to enqueue the newly added JS file to the theme.
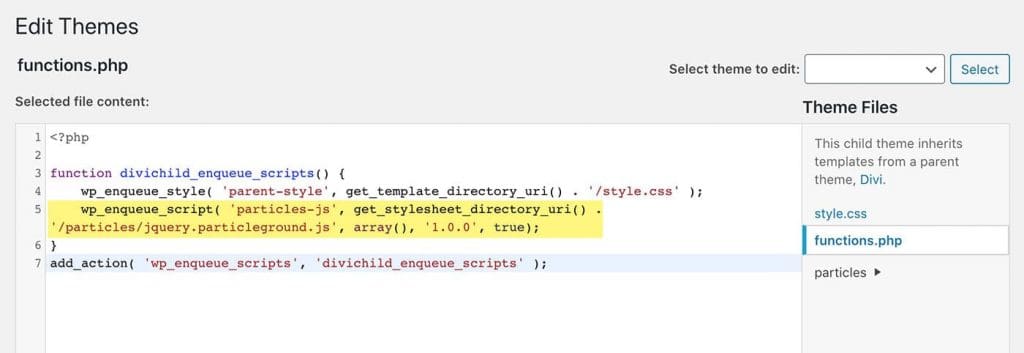
See how I have added the file inside the divichild_enqueue_script function. Below is the PHP function. Copy and paste it as I did.
wp_enqueue_script( 'particles-js', get_stylesheet_directory_uri() . '/particles/jquery.particleground.js', array(), '1.0.0', true);Ok, we are done with adding the JS file to our site. Before moving forward, you can go to the front-end of your site and check whether the file is loading or not. Just right-click on the page and view the source code. In Google Chrome you can bring up the search box by pressing the command(ctrl) + F keys together. Look for the filename 'jquery.particleground.js' and you will see the file in the footer. Congratulations! That means you are in the right direction. Let's move to the next step and see how we can create animated backgrounds in Divi.
Step Three: Create our animated particles background
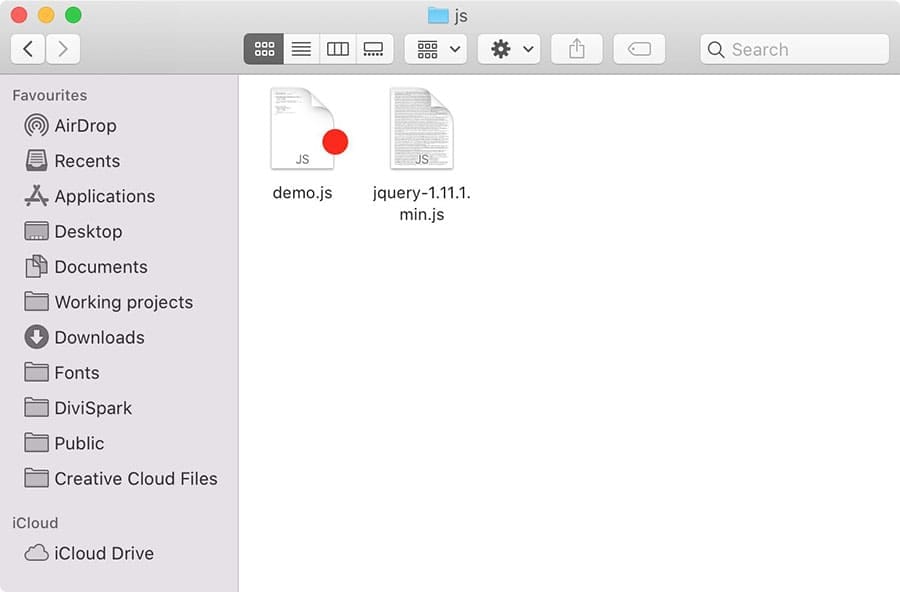
Now go back to the particleground-master folder we downloaded and open the demo folder. Inside, there is the JS folder, and you will find a file called demo.js. Open it with your code editor. (Are you still looking for the best code editor? Here you can find my guide to choosing the best)
Below is what the file looks like.
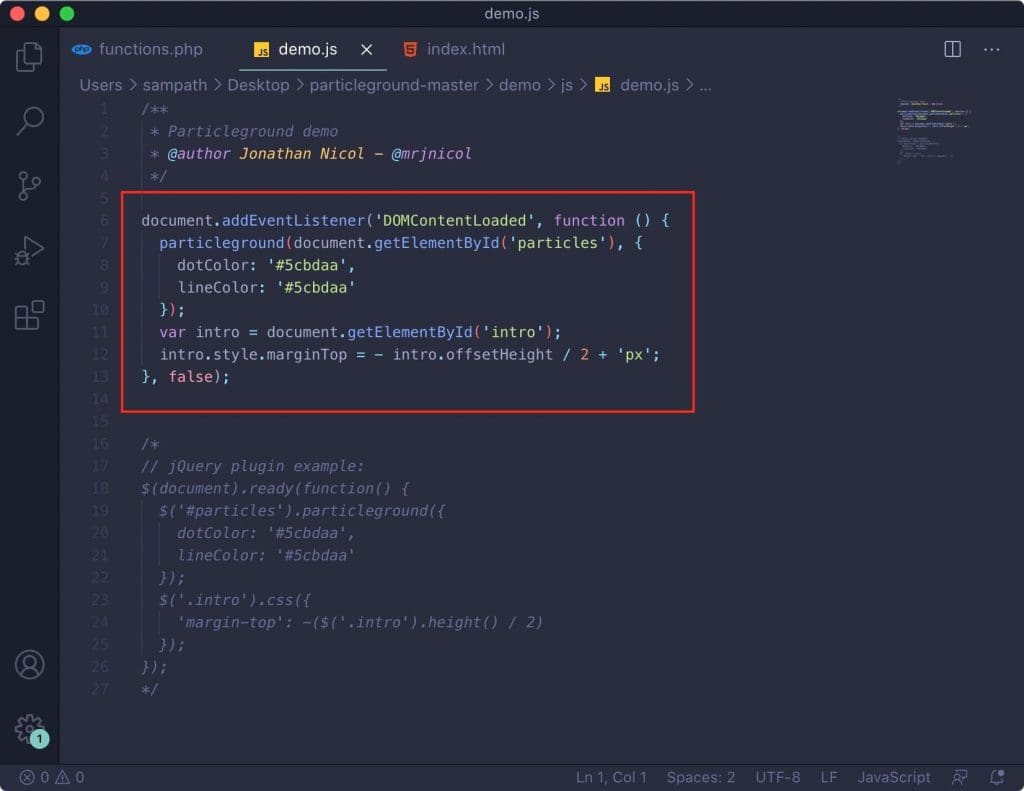
Now you need to copy the highlighted Javascript function to your clipboard and go to the Divi page we were designing.
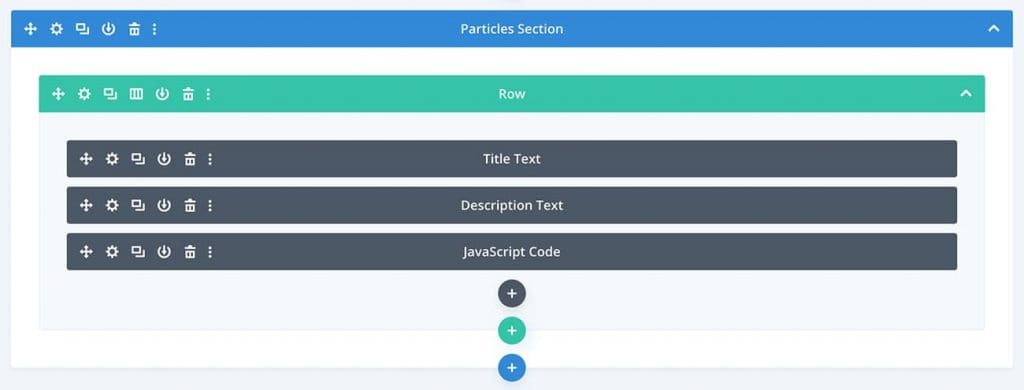
Let's add a new Code Module below our design and paste the Javascript code we just copied above. See the wireframe view of the page below.
Now, if you go to the front-end (you can't see it on the backend) you will be able to see the particles are appearing on your section background but just not positioning correctly. right? Go ahead and add the below CSS snippet to your site. That will fix that positioning issue you can see after adding the animated background.
If you don't know how to add custom CSS to your Divi site, read here.
div#particles canvas {
  position: absolute;
  top: 0;
}
Below is what I did. Looks wonderful, right?
That's not all. We can play with colors, sizes, the number of particles, animation directions, animation speed, etc to make this better. Let's see how we can do it.
Step four: Customizing particles
There are a few options to customize particles. We just need to set our adjustments in the JavaScript code we added earlier to the page. Below is the complete JavaScript code with all settings.
document.addEventListener('DOMContentLoaded', function () {
  particleground(document.getElementById('particles'), {
    dotColor: '#5cbdaa',
    lineColor: '#5cbdaa',
    particleRadius: 7,
    lineWidth: 1,
    minSpeedX: 0.1,
    maxSpeedX: 0.7,
    minSpeedY: 0.1,
    maxSpeedY: 0.7,
    directionX: 'center',
    directionY: 'center',
    density: 1000,
    curvedLines: false,
    proximity: 100,
    parallax: true,
    parallaxMultiplier: 5,
  });
  var intro = document.getElementById('intro');
  intro.style.marginTop = - intro.offsetHeight / 2 + 'px';
}, false);
Particle colors
dotColor and lineColor: Set colors here for the dots and lines.
Particle Size
particleRadius and lineWidth will decide the size of the dot and the line.
Particle count
density will determine how many particles will be generated on the animated background. We are settings the density here, Not the particles count. So a higher number will generate a lower count of particles.
Line shape
if you want curved lines set curvedLines to 'true'.
Animated background speed
minSpeedX, maxSpeedX, minSpeedY, maxSpeedY will set the speed of the animation. Just play with the numbers to find the perfect speed for your animation.
Animation direction
directionX and directionY will decide the animation direction. You can use the below values there.
dirextionX : 'center', 'left' or 'right'
directionY : 'center', 'up' or 'down'
You may not want to use them all. But it's always better to know how to make changes to the animated background you just created. Play with the numbers and try to make the perfect animation you want which better matches your website's design.
If you want more advanced details please visit the Github page below.
So that's how to create animated backgrounds in WordPress. Comments below if you need any help from me. You can share with your friends if you find this helpful. 🙂